I guess I should share a couple of resolutions. First and foremost I’m going to lose a lot of weight. In addition to health benefits, I’d need the world’s largest shoe horn to squeeze me into the car and even then NFW would I’d fit into the Tillet B5 seats. I’m also pushing to fire up the engine this year. That’s a lot of weight and a lot of work from where I am today!
The next step was to bench test the parking brake. Wiring it was trivial. You simply power it on a 10-amp circuit and plug in the ECU, calipers and switch. The results were anti climatic to say the least. As you can see in the video below, I hold the button for the requisite two seconds and the motors whirl and quickly stop. The LED on the button indicates that the brake is set, but it's clear that the brake pad is nowhere near the caliper. In fact it has moved less than 0.5 mm. Holding the button causes motors to return the calipers to their open position and the LED goes out indicating that parking brake is no longer set.
I’ve learned this lesson before… test everything as soon as you get it, because it often doesn’t work and if you discover this when you really need it, you’re going to lose a lot of time. So, back to England it went and it’s been help up in customs for 11 days.
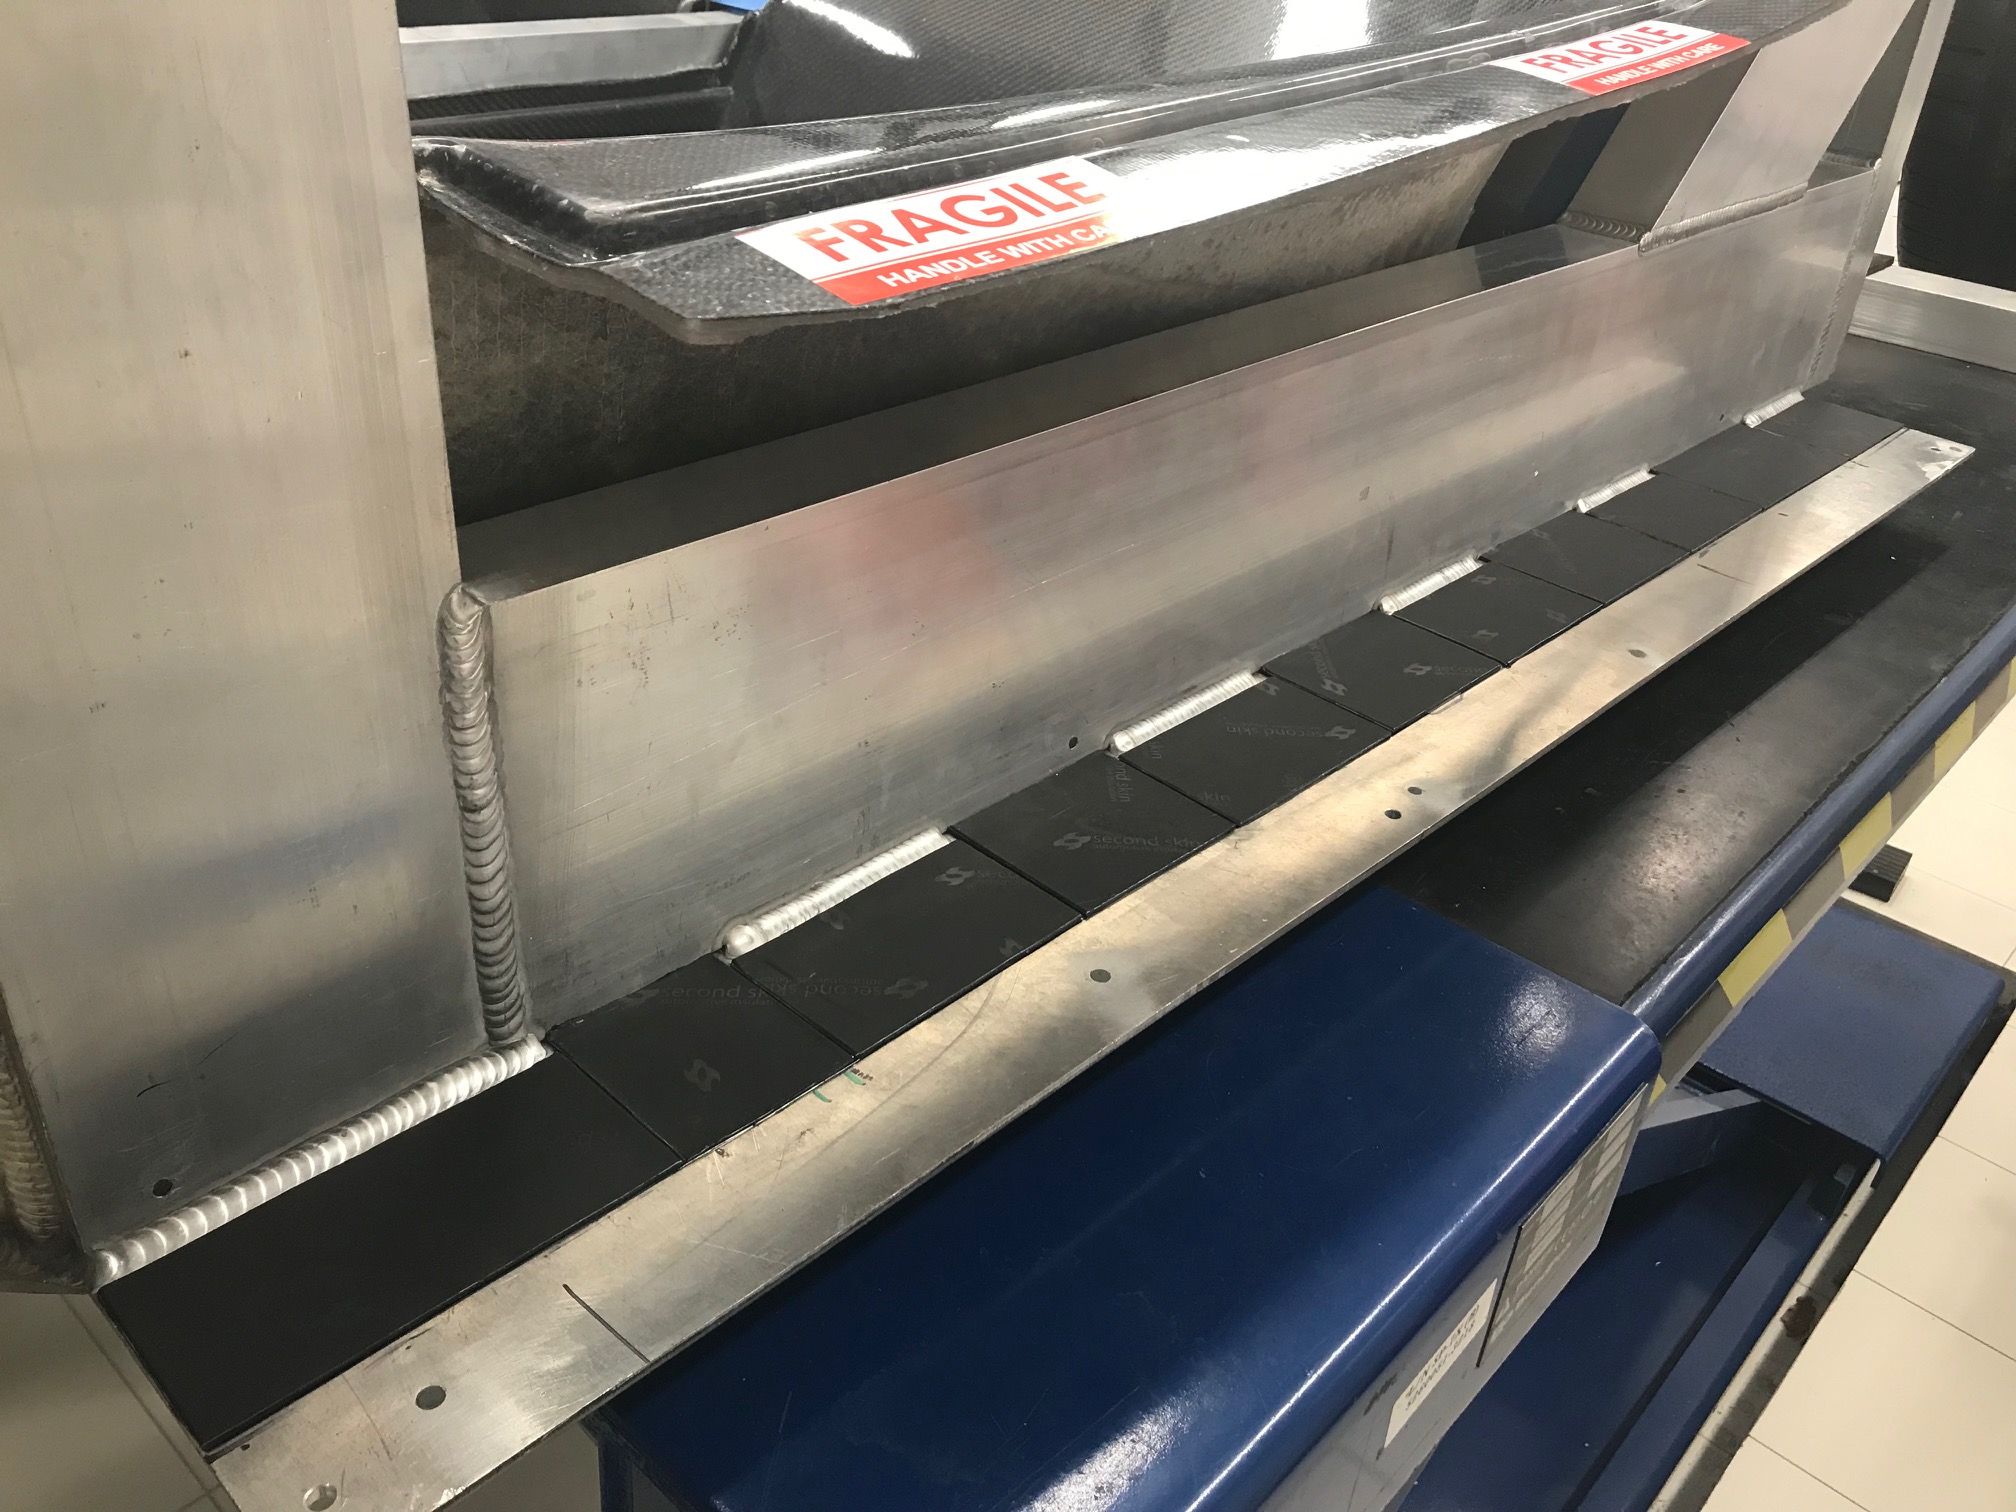
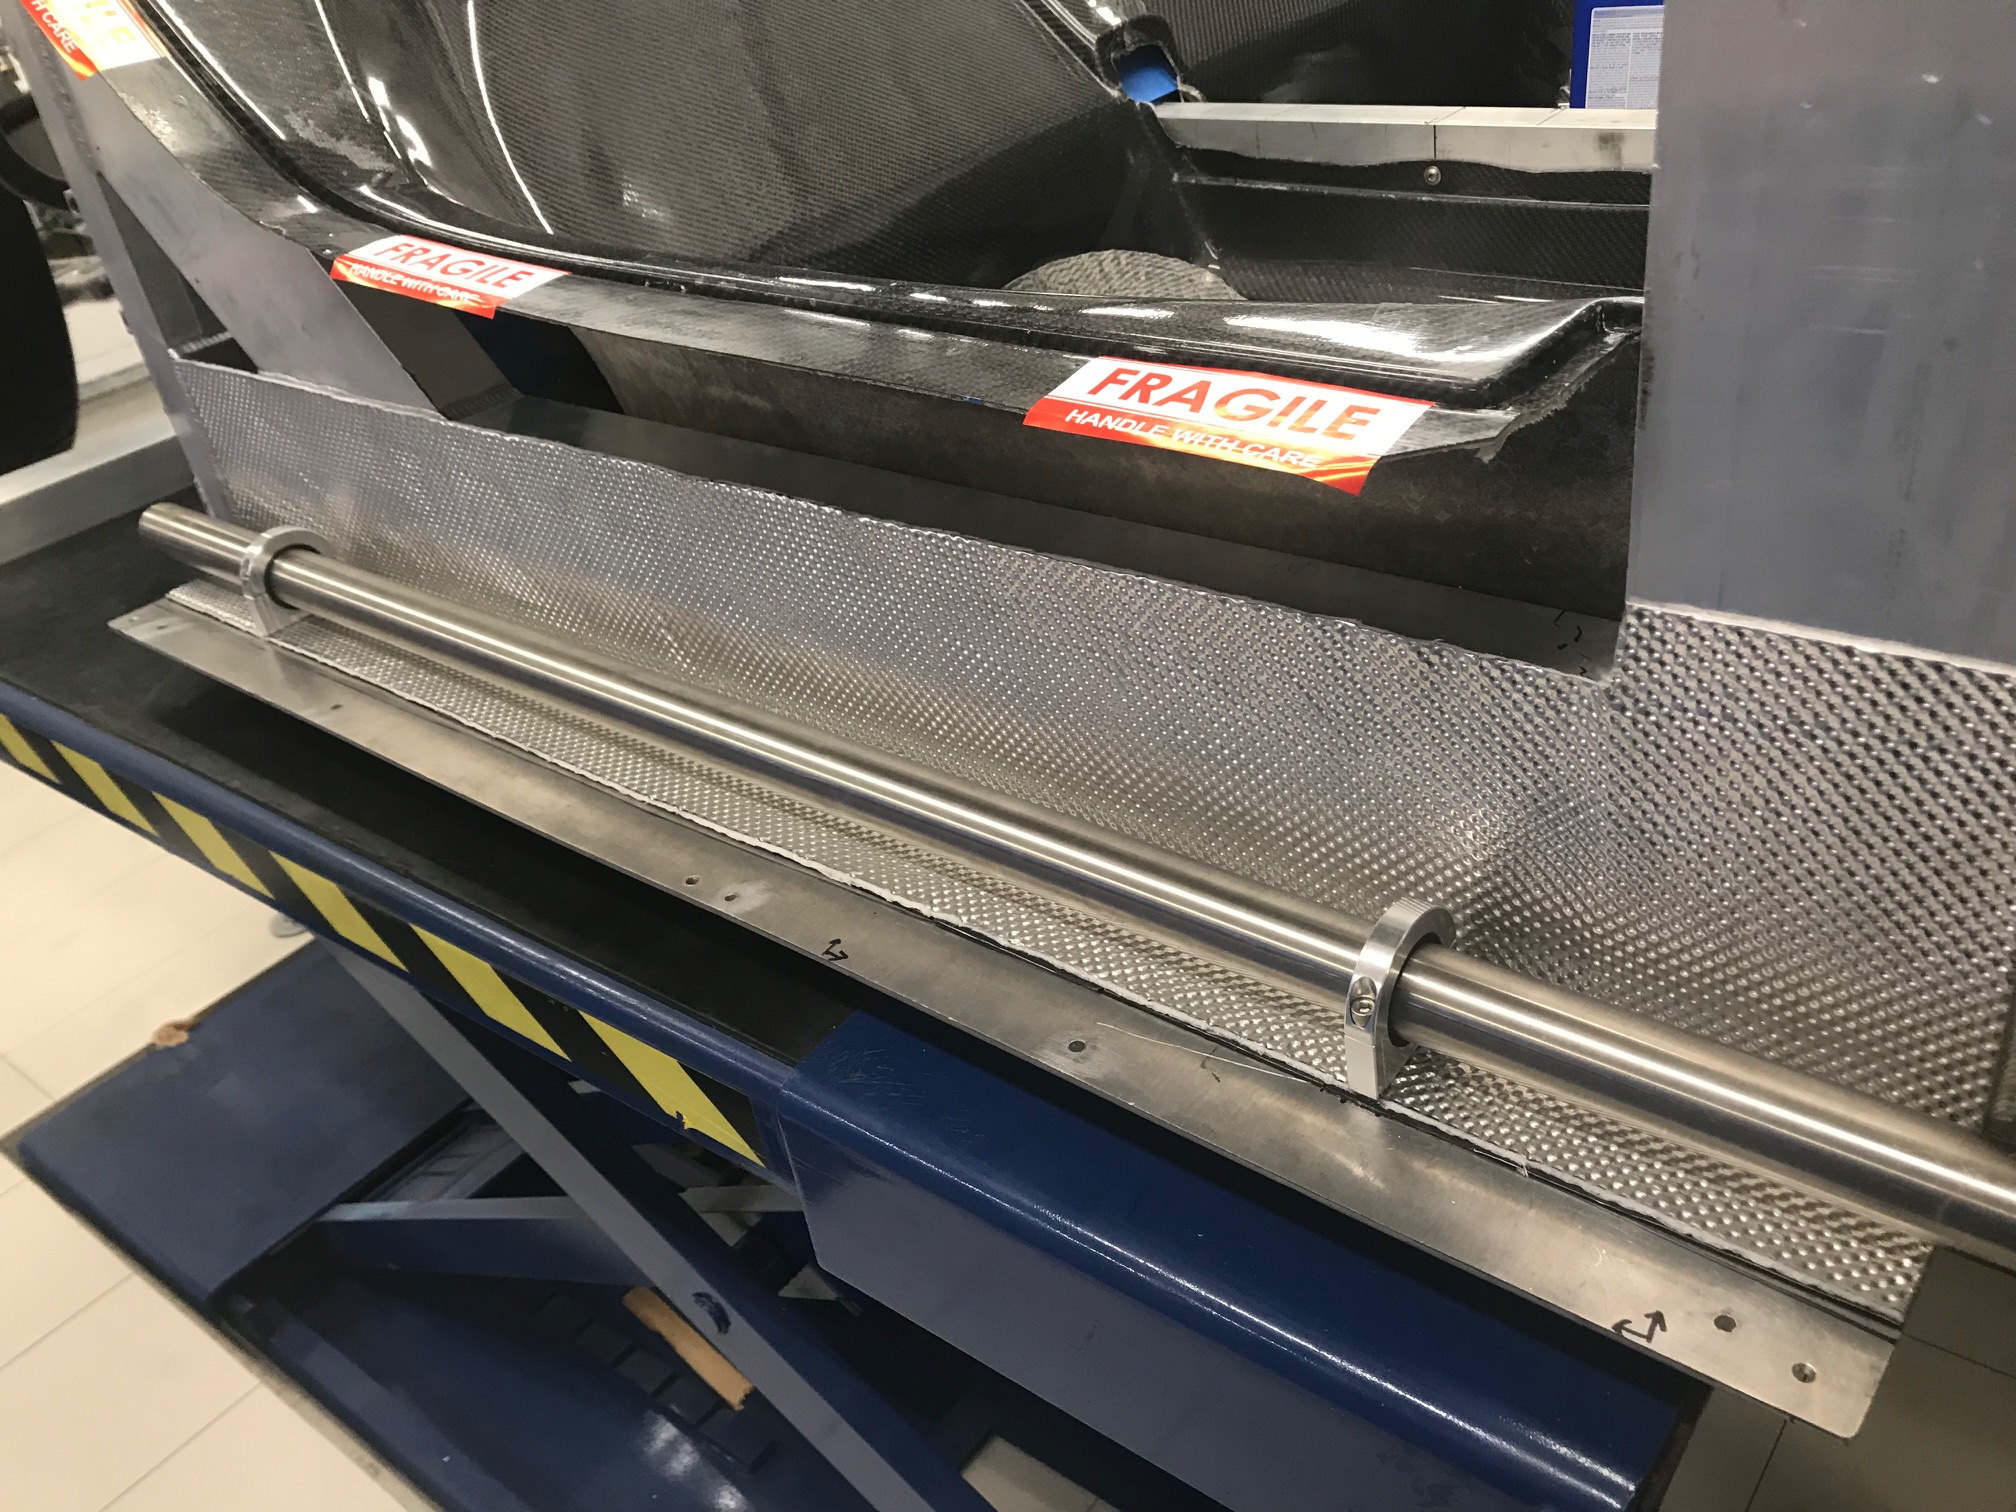
So, on to the cooling system. To mount the 1-1/2” stainless steel cooling tubes I ordered some 1-3/4” billet clamps and lined their ID with 1/8” self-adhesive rubber to reduce conductive heat transfer. To reduce noise I covered the bottom of the side pods with Second Skin Damplifier Pro (I didn’t cover the vertical 2” x 6” because horizontal space is tight). I then covered the bottom of the side pods and the vertical 2” x 6” with DEI Tunnel Shield II to reduce heat radiation.
Zero-flute countersink
I mounted the clamps to the bottom of the side pod. To keep the underside of the car as smooth as possible I used flat-head screws which provided an opportunity to use one of my new zero-flute counter sinks. Wow, these cut so much smoother than the fluted ones.
The next step is to fabricate and weld the 1-1/2” tubes from the radiator to the engine compartment.

